What is JavaScript?
JavaScript is a dynamic, weakly typed, prototype-based programming language. But JavaScript is mostly used on the frontend or client side of web applications. Though now, JavaScript is able to be used as a full stack tool for developing robust web applications thanks to Node.js. We will only be going through using JavaScript on the frontend to add interactivity with our end user.
How to include JS
We can include JavaScript in our page very similarly to how we include CSS. Like CSS there are 3 options (and two of them are not advised).
Inline
We can include JavaScript right inside of our HTML elements. (Your separation-of-concerns-sense should be tingling right now):
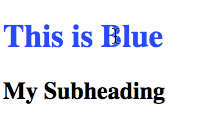
<h1 onclick="this.style.color = 'pink';">My Title</h1>Which gives you:

Inside Script Tags
You can also write JavaScript directly inside your HTML by enclosing it in <script> tags. Like this:
<!DOCTYPE html>
<html>
<head>
<meta charset="utf-8">
<title>JS Example</title>
</head>
<body>
<h1 onclick="this.style.color = `pink`">My Title</h1>
<h2>My Subheading</h2>
<script type="text/JavaScript">
document.getElementsByTagName('h2')[0].onclick = function() {
document.getElementsByTagName('h2')[0].style.fontSize = `30px`;
};
</script>
</body>
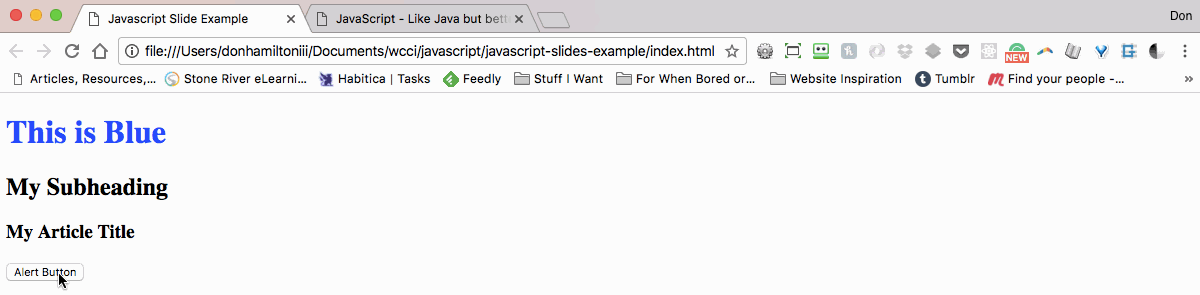
</html>Which yields:
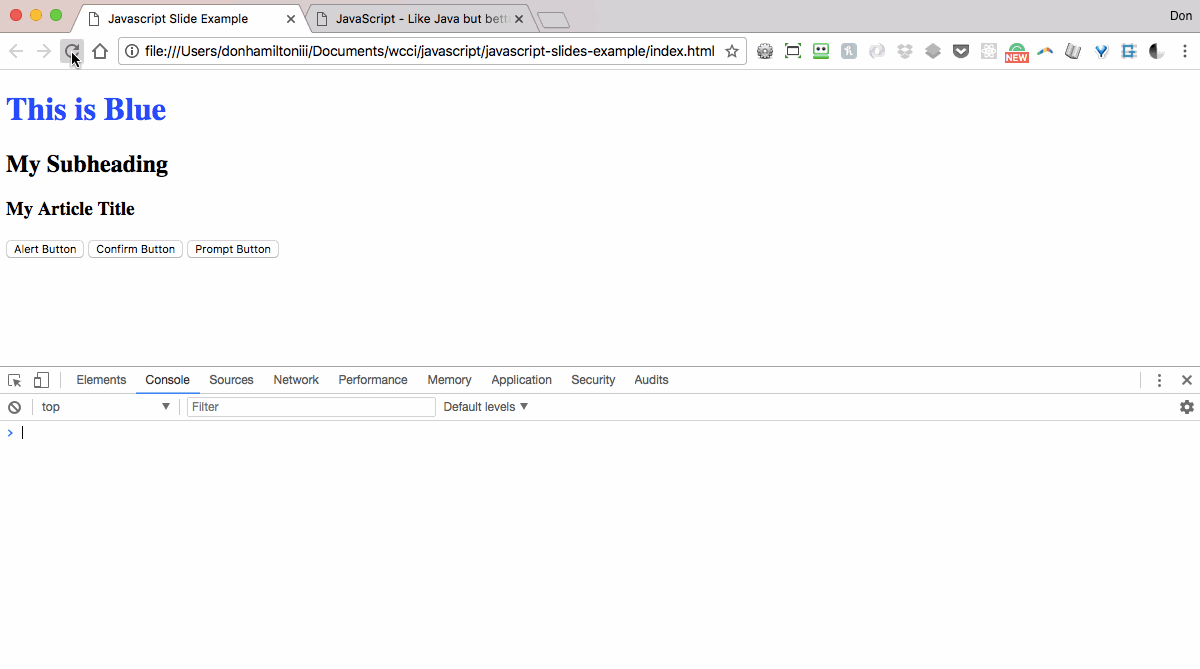
Linking an External JS File (Do this one!)
Finally, similar to CSS, you can link JS code from an external file. This is ideal because it keeps your code organized and concerns separated. You connect the file to your HTML with the <script> tag like so:
<!-- index.html -->
<script src="./js/app.js"></script>
// app.js
document.getElementsByTagName('h3')[0].onclick = function() {
this.style.backgroundColor = `orange`;
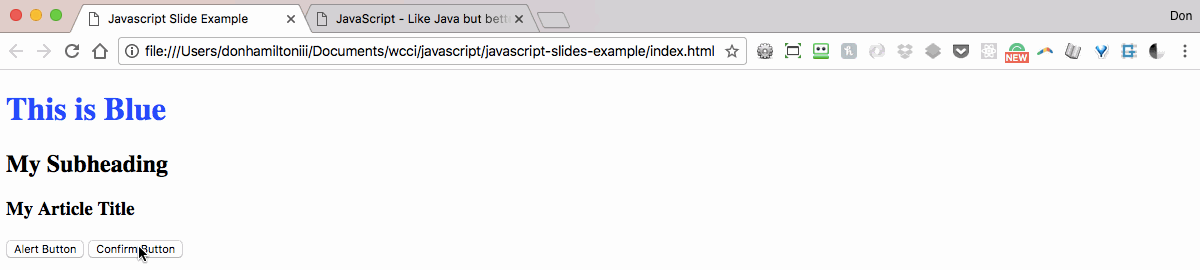
}Which gives you:

Boxes
JavaScript allows you to send and receive messages from your user in a number of ways. The first ones we're going to talk about are boxes. There are three types of boxes:
- alert
- confirm
- prompt
Let's explore them in more detail.
Alert
Alert boxes allow you to send a message that your user can read when an action is performed. By adding a button we can see how this works:
<button type="button" name="button" id="alert">Alert Box</button>And inside of our JS file:
const alertButton = document.getElementById('alert');
alertButton.onclick = function() {
alert('Here is our alert box')
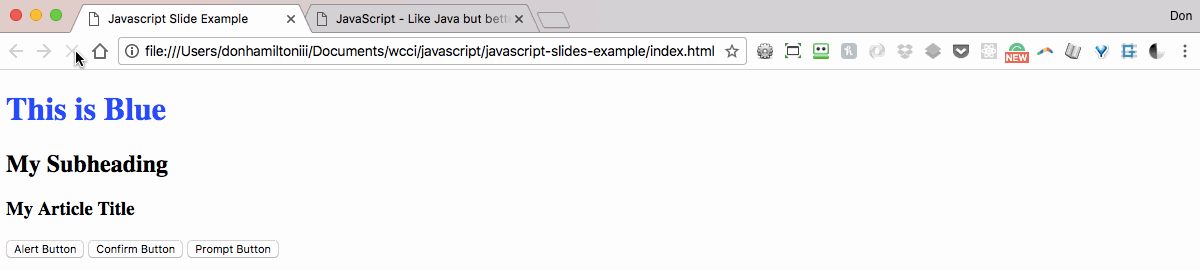
}Which then performs like this:
Confirm
Confirm boxes actually return a boolean value to you. This way you can interact with your user and get some kind of feedback from them. When your user clicks ok in the confirm box, you get a true value. When they click cancel, you get a false value:
<button type="button" name="button" id="confirm">Confirm Box</button>
<output name="result" id="confirmResponse"></output>
And inside of our JS file:
const confirmButton = document.getElementById('confirm');

confirmButton.addEventListener("click", function() {
    const userResponse = confirm('I can haz cheeseburger?');
    const displayContainer = document.getElementById('confirmResponse');
    const displayMessage = '';

    if (userResponse) {
        displayMessage += 'Thank you! I love cheeseburgers.'
    } else {
        displayMessage += '😢'
    }

    displayContainer.innerText = displayMessage;
})
Which then performs like this:
Prompt
Prompt works very similar to to confirm. It accepts input from your user as well. This time the value is a string. So you can get specific information from your user and use it however you want.
<button type="button" name="button" id="prompt">Prompt Box</button>
<output name="result" id="promptResponse"></output>
And inside of our JS file:
var promptButton = document.getElementById('prompt');

promptButton.onclick = function() {
    const userResponse = prompt('What is your name?');
    const displayContainer = document.getElementById('promptResponse');

    displayContainer.innerText = `Hey, ${userResponse}`;
}
Let's see what it does when we give it a value and what we get when we hit cancel:
Printing to the console
We can print to our console with JS the same way we can with C#. The only thing that's different is the command to execute this behavior.
In JS that command is console.log(). There is also console.error() and console.dir(). They are for more specific tasks but have generally the same behavior. Let's see them in action:
Variable Declaration
There are now three keywords you may use inside of JS to declare a variable. Two of them are new, one of them you are very used to using. The reason new variable declaration words have been created in the first place is to fix a big problem that JS has inherently had with polluting the global scope. The two new keywords have block scoping. This means they inherently don't belong to the global scope. Let's explore that.
var
We've seen var as the standard variable declaration keyword.
var myNum = 42
var myString = "This is a string value"
var myBoolean = true
This keyword will still work but it is advised that you use either of the new keywords instead.
let
The let keyword has block scoping which allows it to be declared outside of a function but still not be considered part of the global scope. Let's see how this actually affects our code.
For loops with var
So we have 5 buttons on our page that should be logging out the looped value assigned to it.
var buttons = document.getElementsByTagName("button")

for (i = 0; i < buttons.length; i++) {
  buttons[i].addEventListener("click", function() {
    alert("Button " + i + " was clicked!")
  })
}
Notice that we're getting the alert value of 5 no matter which button we press.
For loops with let
So we have 5 buttons on our page that should be logging out the looped value assigned to it.
let buttons = document.getElementsByTagName("button")

for (let i = 0; i < buttons.length; i++) {
  buttons[i].addEventListener("click", function() {
    alert("Button " + i + " was clicked!")
  })
}
Now we're getting the expected result each time because the i value is block scoped to the for loop during each iteration.
const
const is a powerful new keyword that actually gives us constant values in JS. This way they can't be over written. For example:
var name = "Donny"

if (name === "Donny") {
  name = "Alan" // Changes the value
}
But with const:
const name = "Donny"

if (name === "Donny") {
  name = "Alan" // Causes an error
}
Arrays with const
So if we can't change the value of a const variable, how are we supposed to work with things like arrays and objects? There inlies the beauty of this new keyword. We are still allowed to mutate arrays and objects, we just can't redeclare them.
// This will throw an error
const myArray = []
myArray = "This is an array"
// This will add values to your array
const myArray = []
myArray.push([1, 2, 3])Objects with const
And we can see the same behavior with objects:
// Error
const myObj = {}
myObj = "This is an object."
// Adds a name property to my object
const myObj = {}
myObj.name = "Donny"Strings
Strings in JS operate just like they do in most other languages. They're just collections of characters.
Concatenation
Concatenating is the same here as well (notice how similarly programming languages behave?). In fact, we use the same concatenation operator in JS as in C#:
const myName = "Instructor"

console.log("Hey, " + myName + "! How's it going?")
This would print out Hey, Instructor! How's it going? to the console.
Template Literals
We have a new way to declare strings too and it has way more functionality than we had previously. Instead of using single or double quotation marks, you can now declare a string with back-ticks `` (located to the left of the <1> key).
The first advantage of `` over quotes is multiline strings. With quotes, these are declared like so:
const myNewElement =
  "<ul>" +
  "<li>value 1</li>" +
  "<li>value 2</li>" +
  "<li>value 3</li>" +
  "</ul>"
With `` we can make this way easier:
const myNewElement = `
    <ul>
        <li>value 1</li>
        <li>value 2</li>
        <li>value 3</li>
    </ul>
`
This way we can essentially write HTML right into our JS!
Interpolation
Interpolation is another super useful advantage to multiline strings. Let's look at how we are used to including variables in our strings.
const name = "Donny"

console.log("Hey! My name is" + name + ". How goes it?")
We can simplify this way more with interpolation. No more worrying about concatenation operators!
const name = `Donny`

console.log(`Hey! My name is ${name}. How goes it?`)
Operators
Comparison operators
More of the same here. JS has the same comparison operators as C#. It adds two new ones though and that's what we're going to focus on.
==!=><>=<====!==
These last two have more specificity than == and !=. With the less specific operators, if two objects have similar values, they are considered equal. Similarly, the more specific versions will compare the types and values i.e.
5 == "5" // true
5 === "5" // false
Logical and Mathematical operators
These are the same as C#.
Logical
&&||!
Mathematical
+-/*%++--
Commenting
You can comment things out in JS also. You can use // for inline commenting and /* */ for commenting blocks of code.
const name = "Instructor" // This is a name

/*
Here is a bunch
of stuff that I
want to comment
out because it
isn't actually
relevant to our
code.
*/
Arrays
Arrays in JS are way more useful than the arrays we're used to. They're mutable, which means you can alter them. There are two ways to declare an Array:
const myFavoriteFruits = ["bananas", "oranges", "papaya", "mango", "pineapple"]
const myEmptyArray = new Array(5)
When we print these to the console we get:

Similar to what we're used to, these arrays are also zero-based and have a built in length property.
Push and Pop
We can add and remove items to the end of our arrays using the .push() and .pop() methods.
// This removes 'pineapple' from the
// array and stores it in the variable
// pineapple.
const pineapple = myFavoriteFruits.pop();

// This adds the value 'watermelon'
// to the end of our array.
// ['bananas', 'oranges', 'papaya', 'mango', 'watermelon']
myFavoriteFruits.push('watermelon');
Splice
The splice method allows you to remove any number of items from your array at any given location. Splice accepts two parameters .splice(index, number of items to remove). So for example:
// Current value of myFavoriteFruits
// ['bananas', 'oranges', 'papaya', 'mango', 'watermelon']
//
// This will store the array ['papaya', 'mango']
const myMostFavorite = myFavoriteFruits.splice(2, 2)

// It also makes our array have the value of
// ['bananas', 'oranges', 'watermelon']
Shift and Unshift
Now you're wondering, if I can add and remove to the end of my array, what if I want to add to the front? We use the methods .shift() and .unshift().
// Makes our array have the value of
// ['blueberries', 'bananas', 'oranges', 'watermelon']
myFavoriteFruits.unshift("blueberries")

// This variable gets passed the value 'blueberries'
const kingOfBerries = myFavoriteFruits.shift()
Assigning Values
There are a few different ways to add values to our array. We can declare our array with values already inside:
// This array has five values. Notice how
// we can mix value types in JS arrays
const numbers = [1.0, 2, 'three', 4, 'five'];
We can also give values to specific indices in arrays:
const names = new Array(3);

// This changes the value of the second
// item from null to 'Alan'
names[1] = 'Alan';

// This creates a key of 'Brian'
// and gives it the value 'Brian'
// But this is bad... don't do this...
names['Brian'] = 'Brian';
Objects
We have objects in JS the same as C#. They behave in a similar fashion.
Methods and Properties vs. Functions and Variables
Functions and variables are the anonymous versions of methods and properties. Once a variable is placed inside of an object, it is a property of that object. The same goes for functions and methods. Let's look at how to declare an object in JS and give it some properties and methods.
const Car = {
  color: "green",
  hornSound: "BEEEEP!",
  numOfWheels: 4,

  honk: function() {
    console.log(this.hornSound)
  },
}

// We can also add values like this
Car.engine = "V8"
Encapsulation
We can use objects in JS to encapsulate our applications. We do this by making everything part of an object and containing all of our properties and methods inside of the object. This way we can avoid name collision inside of our global scope. This allows us to have only one global object, our application, which should be named uniquely so that no other plugins or libraries will use the same names as you.
const MyApp = {
  users: [],
  userCount: users.length,

  addAUser(): {
    // logic to add a user
  },
}
Now MyApp is the only thing that we are adding to our global scope, everything else is local to our application and can't be accessed directly by our browser or any other JavaScript frameworks or libraries that may be in our document.
Dates and Times
We can access current times and dates on the user's machine with JavaScript. Make sure to note that times are based on the settings on the user's machine so we can't be sure that our intended time or date will display. We reference a new Date object like so:
const date = new Date()

// This method shows the number of milliseconds
// that have passed since 1 January 1970 00:00:00 UTC.
date.getTime()

// This value gets the current year
date.getFullYear()
There are many useful methods on the Date object. Read about them here. You can read about why we're getting milliseconds since 1 January 1970 here.
Intervals
JavaScript has plenty of useful built-in methods for you to use. Two of the most frequently used are setInterval(function to execute, time in milliseconds) and setTimeout(function to execute, time in milliseconds). These are used to delay operations from happening until a specified time. In the case of setInterval(), we are setting up intervals for operations to be executed multiple times in increments set by the developer.
Let's see how they work:
const i = 0

// This will call setInterval() and
// execute the anonymous function
// that we're passing it.
const interval = setInterval(function() {
  i++
  console.log(i)

  if (i === 10) {
    clearInterval(interval)
  }
}, 1000)

// This will log to the console
// after 11 seconds.
setTimeout(function() {
  console.log("This took 11 seconds")
}, 11000)
But, what is that function doing?